
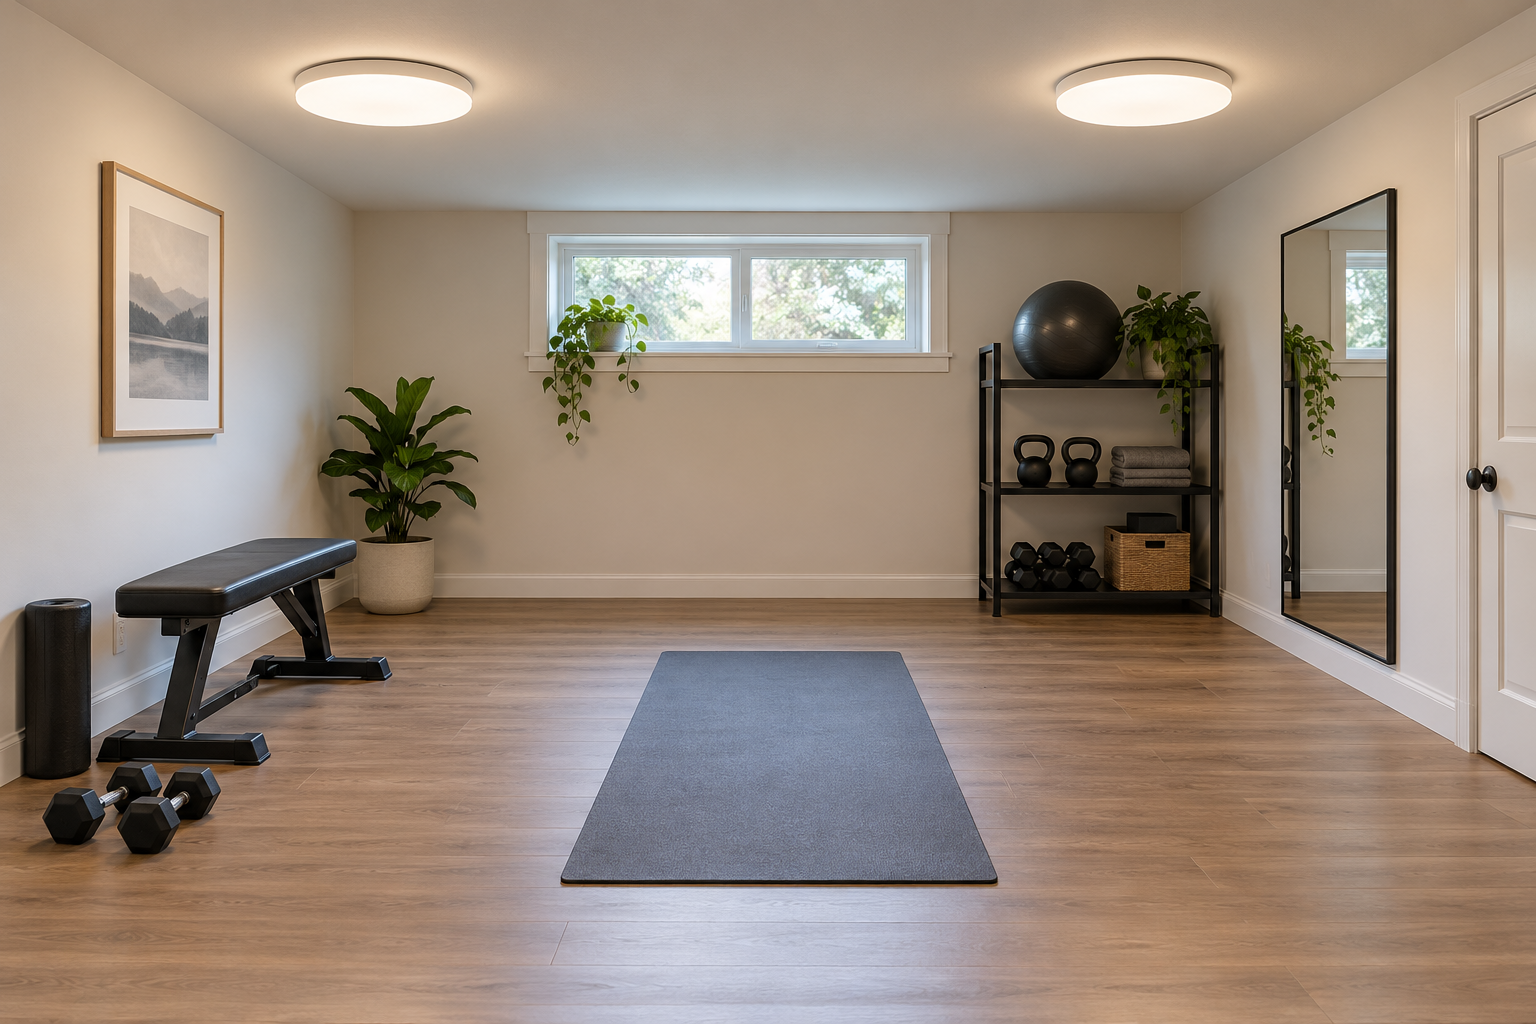
A ceiling light can look perfectly bright when you walk into a room and become uncomfortable the moment you lie on a bench. In a small home gym, the position of a light matters as much as its brightness. Low ceilings add another problem: fixtures share space with raised hands, equipment and sometimes a ceiling fan.
This guide to home gym lighting for low ceilings starts with movement and sightlines. Use it to plan even illumination, check mirror reflections and choose practical controls before buying fixtures. It is a room-planning guide; wiring, mounting and electrical suitability should be checked by a qualified electrician where required.
Start with the movements your room must support
Mark where the bench, mat and cardio equipment will go. Then check the highest point reached during the exercises you actually plan to do, including the equipment itself. A low-profile light still takes up space, and moving it does not make an unsuitable ceiling height safe for overhead movements.
Measure from the finished floor, including mats or a platform, to the lowest obstruction. Account for beams, pipes, fan blades and fixture covers. If you are still arranging the room, use our home gym space-planning guide before deciding on lighting positions.
Check the room from four viewing positions
Do this before ordering lights. Turn on the existing lighting and look around from the positions you will use while training. You are testing comfort and visibility, not performing a workout in a poorly lit space.
- Standing: Can you see the floor, equipment labels and obstacles clearly?
- Sitting: Does a bright fitting reflect in the mirror or a cardio screen?
- Lying on a bench or mat: Is an exposed lamp directly above your eyes?
- Facing the mirror: Does the light illuminate your reflection evenly, or create distracting bright spots?
Write down the problem rather than immediately adding more output. “Cannot see weight labels” and “lamp shines into eyes on the bench” require different solutions. Adding a brighter bulb to the same uncomfortable position can make glare worse.
Choose fixture types by the problem they solve
Flush or close-to-ceiling fixtures for clearance
A low-profile fixture is often easier to fit around movement than a hanging pendant. Check its actual depth and required mounting clearances, not just a photograph. A broad diffusing cover can make a light source less harsh to look toward, though placement still matters.
Several modest light sources for uneven rooms
A single central light may leave storage shelves or the far side of a rack in shadow. Multiple suitably positioned sources can improve distribution. This does not mean filling every part of the ceiling: map the dark areas first and choose the smallest sensible layout that addresses them.
Indirect light for visual comfort
Light directed toward a suitable ceiling or wall can soften the appearance of the source. Its effectiveness depends on the surface colour, reflectance and room geometry. Dark finishes absorb more light, so an indirect arrangement that looks bright in a pale room may feel dim in a darker one.
The ENERGY STAR building lighting guide explains the role of indirect lighting in glare control and visual comfort. Its commercial-building guidance is useful background, not a residential gym installation specification.
Keep bright sources out of common sightlines
For a bench, consider where your eyes point when lying down. Positioning light to the sides may be more comfortable than placing an exposed source directly overhead, but the right arrangement depends on the room. Also check whether the bench or rack creates a shadow across the area where you handle equipment.
Mirrors need a separate check. A fixture behind you may appear as a bright reflected patch directly in front of you. Move through the space and inspect the reflection from normal positions. Do not judge the layout only from the doorway.
Decorative LED strips can add ambient light, but a glowing border is not a substitute for being able to see the floor and equipment. Conceal or diffuse strips according to the product instructions, keep power supplies ventilated as specified and avoid exposed cables across movement areas.
Understand the label without chasing a magic number
Lumens describe the light output of a lamp or fixture. Lux describes illumination reaching a surface. The same lumens can produce different results depending on distribution, distance and surrounding surfaces. A universal number of bulbs per room is therefore a poor buying rule.
Colour temperature, expressed in kelvin, describes whether white light appears warmer or cooler. It is a visual preference, not a measure of brightness. Compare options in the actual room if possible, particularly when the gym doubles as a bedroom or living area.
Dimming compatibility also matters. Check that the lamp, driver and dimmer work together. Visible flicker, buzzing or an unstable low setting is a reason to review compatibility or seek help, rather than assuming every LED will behave well with an existing switch.
Plan separate settings for training and other uses
A shared room benefits from controls that suit its different jobs. You may want even general lighting for handling equipment and a softer setting after training. Keep enough illumination to move safely; a dramatic dark-room effect is less useful if it hides a dumbbell on the floor.
Place controls where you can reach them on entry. An app can be convenient, but the room should still have a practical way to turn on the lights when your phone is elsewhere. Avoid a timer that unexpectedly switches everything off during a session.
A practical low-ceiling layout example
Imagine a rectangular spare room with a mat in the centre, a bench on one side and a mirror on the opposite wall. Begin with the positions of those items, then check where a low-profile general light would appear when you lie down or face the mirror.
If the central position produces glare on the bench, discuss an offset or distributed arrangement with the installer. If only the storage corner is dark, address that corner rather than doubling the output everywhere. This is an illustrative planning exercise; the final design needs the room’s dimensions, surfaces and electrical conditions.
Before you buy: a room-specific checklist
- Measure the lowest ceiling obstruction and full movement clearance.
- Record bench, mat, mirror and screen positions.
- Check glare from standing, seated and lying positions.
- Confirm fixture depth, mounting method and product suitability.
- Check dimmer and lamp compatibility.
- Keep cables, plugs and portable lamps outside exercise routes.
- Plan accessible switching and a useful default setting.
- Review shadows after equipment is in its final position.
Lighting is only one part of comfort. For a room without windows, combine this plan with a realistic ventilation plan. Keep storage organised too: our small-room equipment storage guide helps preserve clear routes through a shared space.
Frequently asked questions
Are recessed lights always best for a low-ceiling gym?
No. They can preserve clearance, but suitability depends on the ceiling construction, product rating and installation requirements. A well-chosen surface-mounted fixture may work better in another room. Have the actual ceiling assessed before cutting openings.
Can one bright light be enough?
Sometimes, in a small room with a suitable layout. Judge it by even visibility and glare from exercise positions, not brightness from the doorway alone.
Should a gym mirror have lighting around it?
Only if it improves the light you need. Test reflections first. A decorative border can still create glare or leave other parts of the room too dark.
Finish the plan with a simple test: can you enter, set up, train and put equipment away without dark corners, distracting reflections or overhead obstructions? That is a more useful result than a ceiling that merely looks impressive in a photograph.
Leave a Reply