
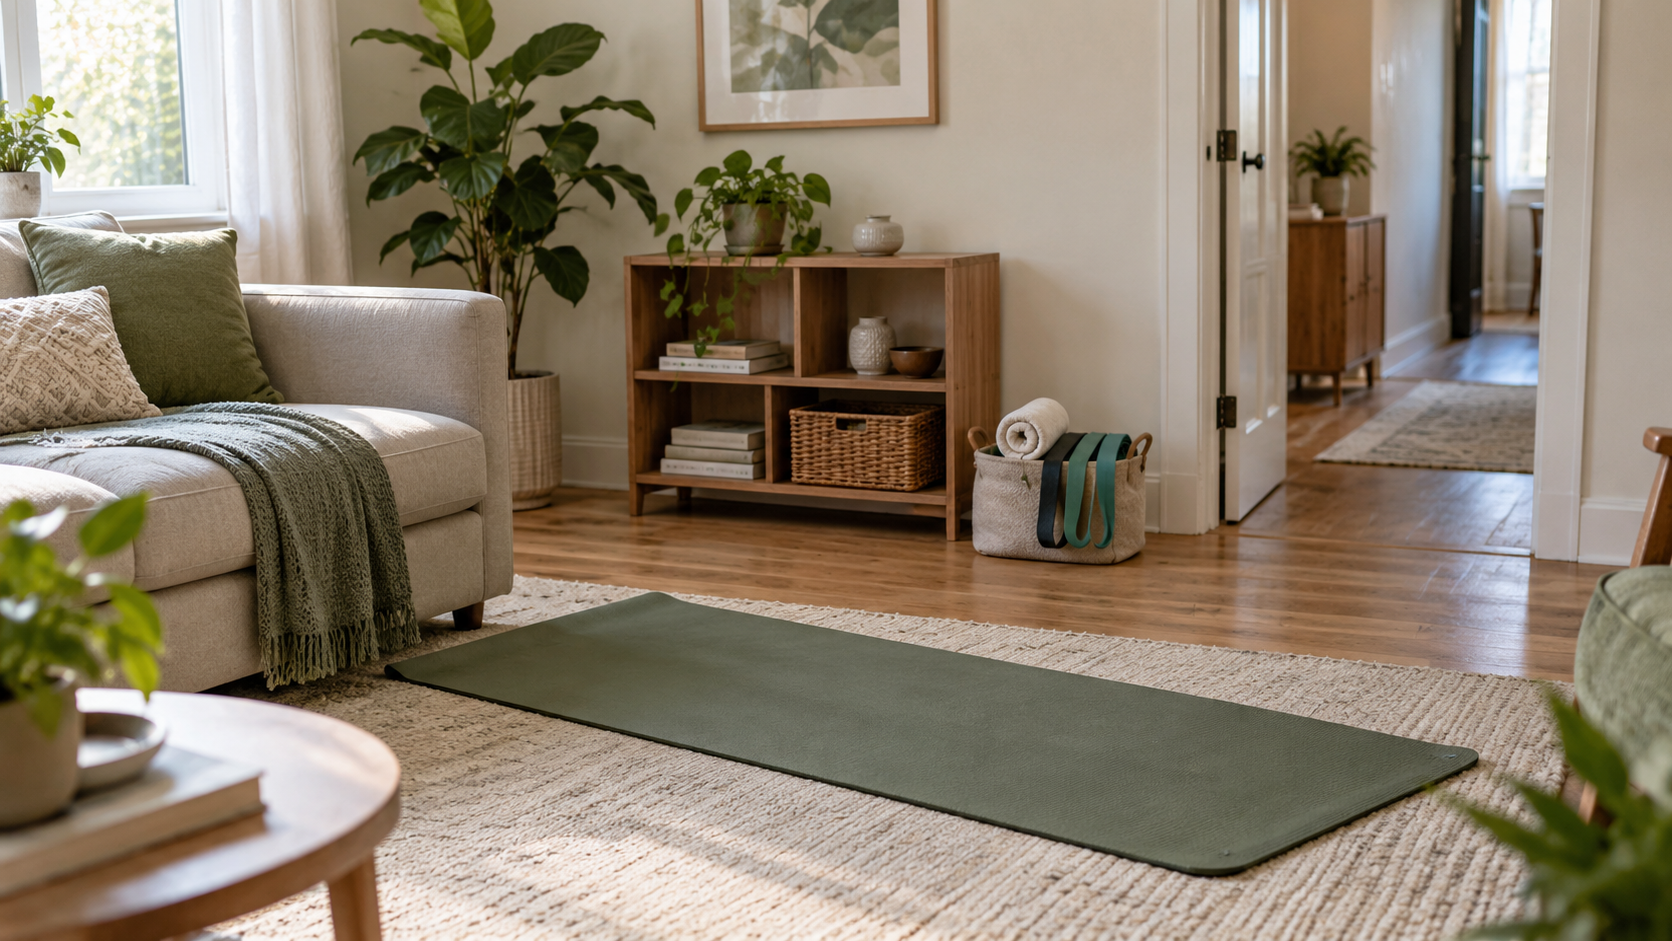
A rental home gym does not need wall-mounted racks or a permanent floor. It needs a setup you can use safely, put away without a struggle and remove when you move. The difficult part is telling the difference between genuinely freestanding equipment and something that only looks stable until it is loaded.
This renter-friendly home gym checklist focuses on room planning and reversible choices, not a workout programme. Start with the activities you already do and the space your home can reasonably accommodate. You can leave an unsuitable item off the list; a home gym does not have to reproduce a commercial one.
Define what “no drill” means in your home
Read your rental agreement and building rules, then ask the owner or manager about anything unclear before installing equipment. Rules for fixings, floor coverings, noise and heavy items vary. A product marketed as renter-friendly does not override those requirements.
Make three short lists: items allowed without alterations, items that need permission, and items you will not use in this property. Keep any written permission with the equipment manual. This is a planning habit, not advice about your legal rights.
Photograph the room before bringing equipment in, including the floor and skirting boards. Record existing marks for your own reference. Do not assume that removable adhesive hooks, pressure-mounted products or rubber mats cannot leave marks; their suitability depends on the surface and the manufacturer’s instructions.
Plan the room in three states
A useful layout works during a session, between sessions and on moving day. Draw each version before shopping.
- In use: Include the equipment footprint, the manufacturer’s clearances and the space occupied by your body through the intended movement. A folded measurement is not a working measurement.
- Stored: Keep the door, normal walking routes, vents and access to windows clear. Equipment must remain stable and inaccessible to unsupervised children where appropriate.
- Moving out: Check how the item comes apart, whether it fits through the doorway and whether you can move it without dragging it over the floor.
For a small shared room, a mat and a limited set of portable equipment may be a better match than a folding rack. Our home gym space guide can help you think through room use before you commit to a layout.
Reject equipment that needs an anchor you cannot install
“Freestanding” and “safe without anchoring” are not interchangeable. Read the assembly and installation instructions for the exact model. If anchoring is required, do not skip it, substitute adhesive strips or rely on added weights to invent a workaround. Choose a different product or obtain permission for the specified installation.
The same principle applies to storage furniture and mirrors. The US Consumer Product Safety Commission’s Anchor It guidance highlights the danger of furniture tip-overs. A no-drill plan should avoid furniture that requires restraints you cannot fit; it should not remove those restraints from the plan.
Door-mounted pull-up bars and resistance-band anchors are not automatic exceptions. Compatibility, door construction, placement and condition matter. If you cannot confirm the manufacturer’s requirements for your doorway, leave the product out. A door handle, radiator or ordinary furniture leg is not an improvised exercise anchor.
Choose floor protection for the actual surface
A protective layer has to suit both the equipment and the existing floor. Ask the flooring or mat manufacturer about compatibility with the finish underneath. Some materials, dyes, trapped moisture or unsuitable backings can damage or discolour flooring.
- Clean and dry the surface before placing a compatible mat.
- Check that edges lie flat and do not create a trip hazard.
- Do not stack soft layers beneath equipment that needs a firm, level base.
- Inspect underneath periodically and follow cleaning instructions.
- Lift or move equipment as its manual directs; do not drag it to test the mat.
A mat is not proof that a floor can support a heavy machine, rack or concentrated weight load. If the load or building suitability is uncertain, ask the property manager and a qualified professional before installation. It also will not make dropped weights silent. See our noise and vibration guide for planning considerations, without treating padding as soundproofing.
Build storage around a repeatable reset
Give each item a stable, appropriate home near the exercise area. Light accessories can go in a suitable container; heavy equipment needs storage designed and rated for it. Do not put dumbbells on decorative shelving or overload a rolling cart because it fits neatly beside the sofa.
Try the reset before calling the room finished: put everything away, open the door fully and walk the normal route through the room. If storing an item requires a difficult lift or awkward reach every time, reconsider its position or whether it belongs in this setup at all.
For example, a renter using a mat, a small amount of portable resistance equipment and no fixed anchors could designate one clear exercise zone and a nearby rated storage position. That is an illustrative layout, not a recommendation for particular equipment or exercises. The final choice depends on the room, users and product instructions.
A practical purchase filter
Before paying for an item, answer these questions in writing:
- What activity will it support that my current setup does not?
- Are its installation requirements compatible with this property?
- What are its in-use, stored and transport dimensions?
- Where will it go when the room returns to normal use?
- Can I inspect, clean and maintain it as directed?
- What is the return policy if it does not fit?
An unanswered installation or safety question is a reason to pause the purchase, not a detail to solve after delivery.
Can a renter-friendly gym still look intentional?
Yes. Keep storage visually simple, repeat a small colour palette and leave breathing room around the equipment. Use existing lighting where suitable, without trailing cables across the workout area. Decorative wall treatments, large leaning mirrors and extra furniture are optional; they should not create new installation problems.
The strongest rental setup is one that fits everyday life. Start small, test the room’s three states and add equipment only when you have a safe installation and storage plan for it.