
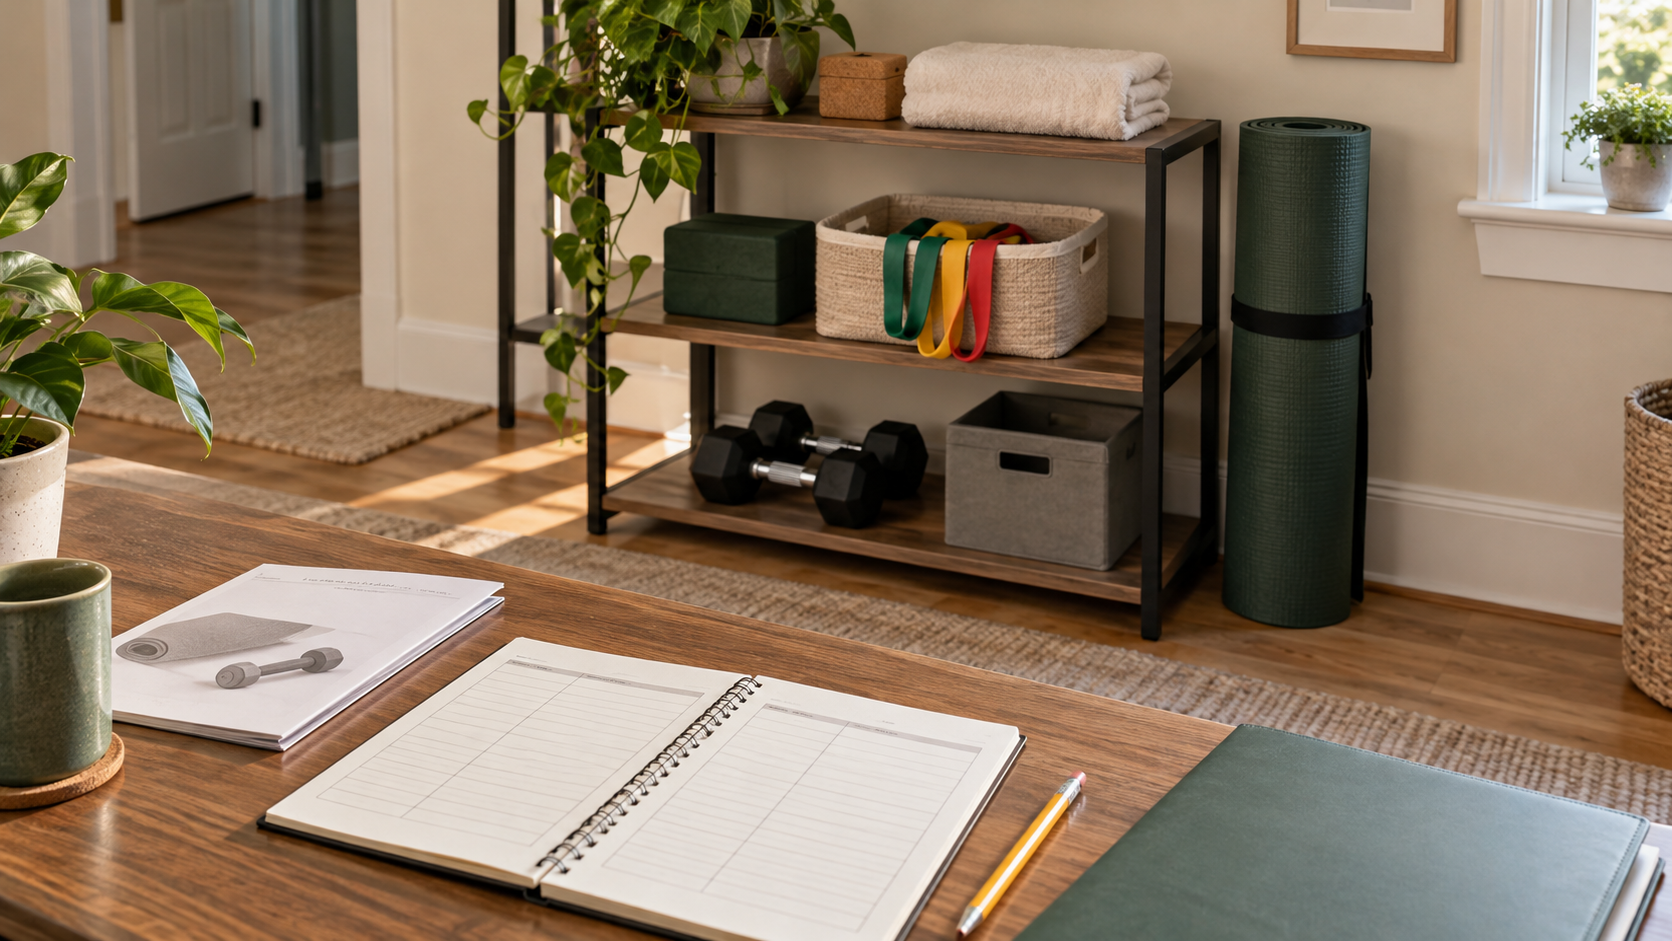
A drawer full of tangled resistance bands is difficult to use and easy to forget. A useful storage arrangement lets you identify each band, separate its accessories and notice wear before the next session.
This resistance band storage guide focuses on a small home gym: one drawer or shelf and a short reset routine. Follow your manufacturer’s care instructions first, because latex, fabric and tube products can have different requirements.
Choose the location first
Start with an indoor spot away from direct sunlight, heaters, damp walls and sharp equipment. A cupboard or drawer is often more practical than an exposed display beside a sunny window. Make sure opening the storage does not block a walkway or equipment clearance.
CENTR’s equipment storage guidance recommends dry indoor conditions, protection from sunlight and temperature extremes, and checking the relevant product manual. These broad principles help assess your room; they do not make one cleaning method suitable for every band.
Separate bands from attachments
- Long loop bands: Arrange each in a relaxed loop. Avoid tight knots and do not pack them beneath heavy items.
- Tube bands with handles: Keep the tube loosely arranged, with clips positioned so they do not press into the elastic.
- Fabric mini bands: Lay or stack them separately after cleaning and drying according to their labels.
- Door anchors and clips: Use a separate compartment so you can identify the right accessories for each kit.
Do not identify resistance by color alone. Brands use different color systems. Keep the brand, model and resistance information from the packaging or manual beside the equipment.
Build a three-zone drawer
Reserve one area for ready-to-use bands, one for compatible accessories and one for instructions. Use smooth dividers, checking their edges for rough points that might snag material. Leave enough space to lift one band without pulling the others out.
Put the most-used kit at the front. Labels belong on the compartment or an information card rather than directly on the elastic. If two people share the room, label complete kits by model so their parts are not mixed.
Before buying a new organizer, test the layout with a clean drawer you already have. A plain compartment with space around its contents is more useful than a tightly packed display. Check the location during the warmest part of the day if sunlight reaches the furniture.
Use baskets and hooks thoughtfully
A basket can work when its interior is smooth and the location stays dry. Keep it clear of rough tools, screws and weights. Do not leave damp equipment zipped in a bag after training.
Only hang bands if their manufacturer permits it. Use a suitable smooth support and leave them relaxed rather than stretched. Storage hooks are not exercise anchors: do not treat a convenient rail as load-rated training hardware.
In a shared room, an enclosed drawer may be easier to manage. Our guide to storing workout equipment in a small living room explains how to fit equipment storage around daily life.
Follow a short reset routine
- Clean according to the product’s instructions, using only approved methods.
- Let the equipment dry completely before storage.
- Look over the band, stitching and attachment points in good light.
- Return relaxed bands and matching accessories to their spaces.
- Record any issue that needs attention before the next session.
Do not add oils, powders or household disinfectants unless the manufacturer recommends them. A universal cleaning recipe is inappropriate when materials and coatings vary.
Keep questionable equipment out of use
If you find cuts, tears, cracking, damaged stitching or loose attachment parts, stop using the affected item and follow the manufacturer’s replacement guidance. Tape and a better storage location do not repair a damaged band.
Keep it separate from the usable kit in a clearly marked “do not use” space while arranging replacement or disposal. Do not stretch a suspect band aggressively to test whether it will fail.
Record the model and issue in your home gym maintenance log. The record helps with follow-up; it does not replace the pre-use checks described in the manual.
Test whether the system works
Open the drawer as if you were starting a session. Can you identify the correct band without guessing, remove it without snagging another item and inspect the accessories? Is the compartment dry and free of grit?
If not, reduce the contents or change the location. Good resistance band storage needs a suitable space, relaxed bands, separated hardware and an inspection habit. It does not need a large rack or matching containers.
Leave a Reply