
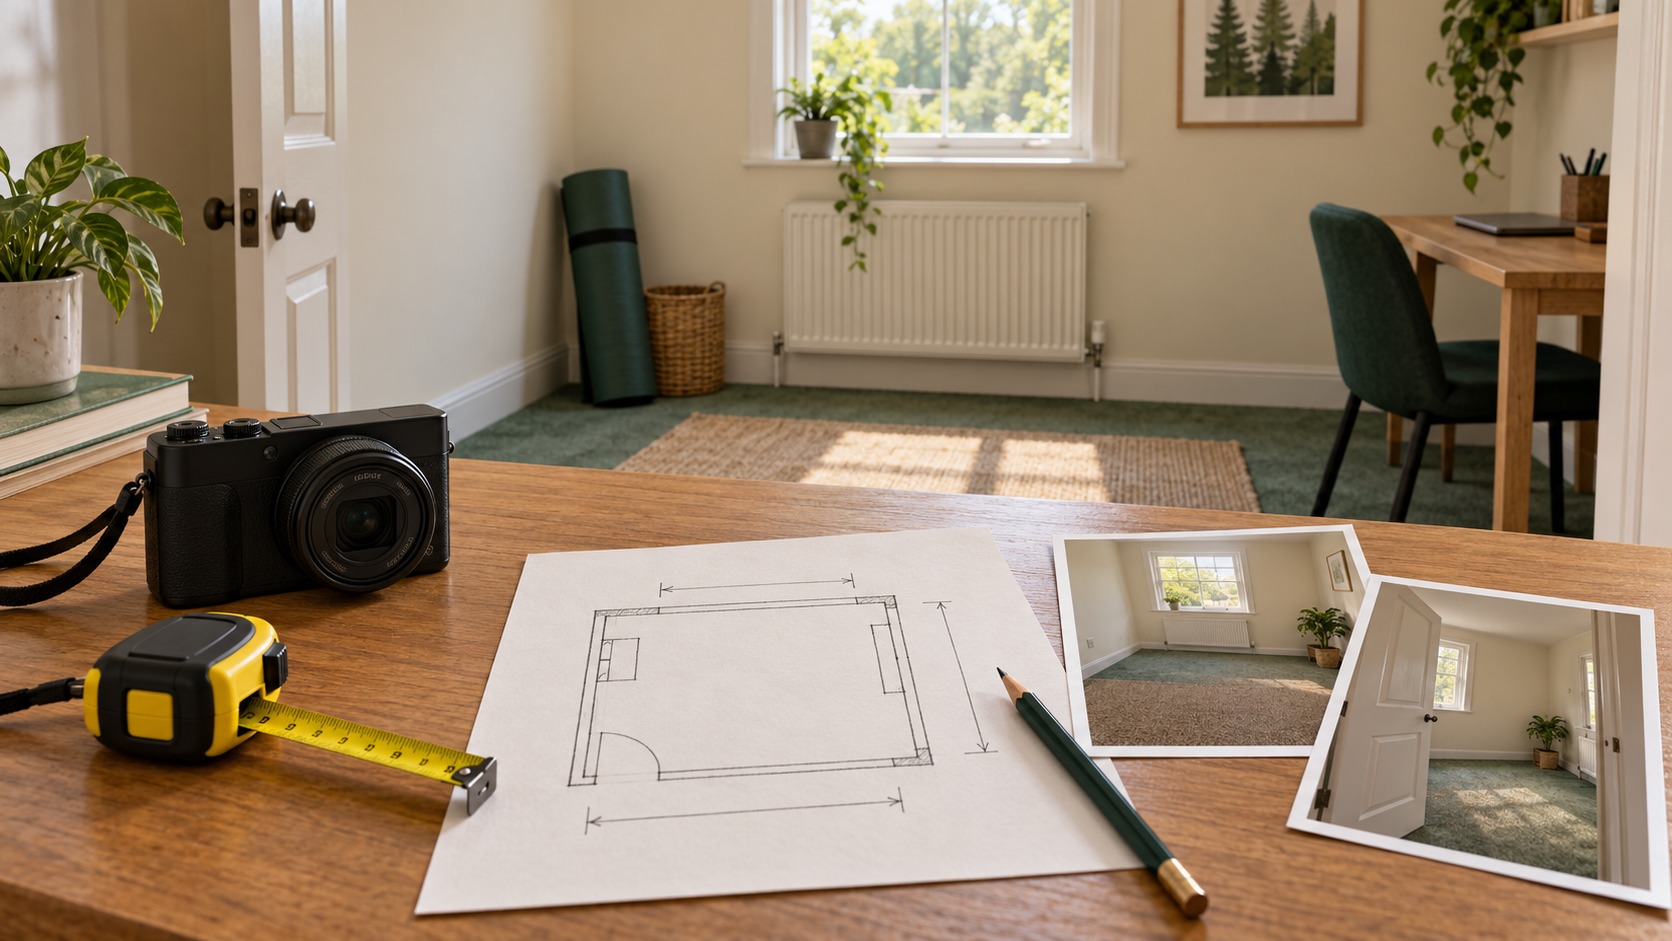
A beautiful room photo can hide the awkward parts of planning a home gym: the door that opens into a proposed equipment space, a radiator behind a bench or a low beam outside the frame. Useful planning photos show those constraints rather than cropping them away.
This home gym photo checklist helps you build a small, organised reference set before comparing layouts or speaking to a supplier. Photos support a measured plan; they do not establish floor strength, electrical suitability, fixing requirements or safe equipment clearances.
Decide what the photos need to answer
Write down the decision you are making. Are you choosing which wall can hold storage, comparing two equipment locations or explaining a shared room to a designer? A focused question produces a more useful photo set than dozens of nearly identical pictures.
Keep the room in its normal condition for the first set. Moving every piece of furniture out can hide the fact that the space must still function as an office or guest room. You can create a separate cleared-room set later, but label it as a proposal rather than the everyday arrangement.
Take one overview from each accessible corner
From safe standing positions, photograph across the room so neighbouring images overlap. Include enough wall and floor to understand which side connects to which. Do not climb on furniture or move heavy equipment simply to get a more attractive angle.
Use an ordinary camera view where possible. An extreme wide-angle image can make a room look more spacious than it feels. If you use one to capture the whole room, label it and pair it with measured dimensions. A photo is a visual reference, not a scale drawing.
Keep the original images for your own reference. If you add arrows or labels to a copy, make the difference clear. Avoid editing out fixed obstacles: the planning value lies in seeing them.
Document the features that constrain the layout
Take a clear view of each doorway and show the door’s swing in a separate image if it matters. Record windows, radiators, built-in cupboards, sloping ceilings and other fixed features. Photograph only what you can see safely without removing covers or opening electrical equipment.
Pair these images with a simple sketch that records measured room dimensions and the position of relevant features. Keep units consistent. Our home gym space-planning guide explains why the equipment footprint alone is not the whole layout.
Do not infer load capacity, wall construction or suitable fixings from a photo. Ask an appropriately qualified professional about structural, installation or electrical questions. The instructions for the exact equipment remain essential even when a layout looks generous.
Show the delivery route separately
The final room is only one part of the journey. Photograph relevant turns and access points on the route from the entrance, while keeping private information out of the frame. Record the measurements requested by the supplier rather than expecting a delivery team to calculate them from perspective.
Do not assume an assembled machine will fit because its packaging dimensions look manageable. Ask the supplier which dimensions and access conditions apply to delivery and installation. Use our equipment delivery checklist to organise those questions.
Capture the shared-room reality
If the room has another purpose, make two clearly labelled sets: “everyday use” and “proposed workout arrangement.” Show where the desk chair, guest bedding or lightweight accessories normally go. Do not photograph a temporary arrangement as if it solves a storage problem permanently.
For example, a fictional home-office plan might show a chair tucked under the desk in the proposed workout view. The accompanying note should explain that the chair must still have a usable location during work hours. A picture alone cannot establish whether the household will find that routine convenient.
Our shared home gym reset plan helps turn that visual idea into a repeatable room-use routine.
Name the files so somebody else can follow them
Use a small numbered sequence instead of leaving every image with an unexplained camera filename. For example: 01-room-overview, 02-door-wall, 03-window-wall, 04-access-turn and 05-proposed-arrangement. Add the capture date to your folder name so an old layout is not confused with the current one.
Create a short index with three fields: filename, what it shows and the question it supports. “03-window-wall: radiator below window; can this area remain unobstructed in the proposed layout?” is more useful than “gym photo.” Keep measured dimensions in the plan, with a reference to the relevant image.
Share only the information needed
Before sending images, check for addresses on parcels, family photos, personal documents, screens, keys and other details that are not relevant. Share through the supplier’s or designer’s agreed channel, with access limited to the people who need it. Keep private receipts and serial-number records separate from a public inspiration post.
Ask what additional information is required before sending a large folder. A selected set with a clear question can be easier to review than an unstructured album. Do not describe a suggestion based only on photos as a professional safety approval.
Your final photo-pack check
- Each wall can be located from the overview images.
- Fixed obstacles and door swings are visible where relevant.
- Actual measurements are recorded separately and consistently.
- Current and proposed arrangements are clearly distinguished.
- Delivery-route questions have their own references.
- Private details are removed from the copies being shared.
- The decision you want help with is written in plain language.
The goal is not a perfect room photograph. It is a clear record that helps you ask better questions before buying, moving or installing anything.
Leave a Reply